Credit: Su Kahumbu
You will need
A 200 lt plastic drum
A wooden trestle/support
2 meters of shadenetting
Some stones
Soil, Manure, grass, leaves and kitchen waste
A sheet of mabati
Banana leaves or grass clippings

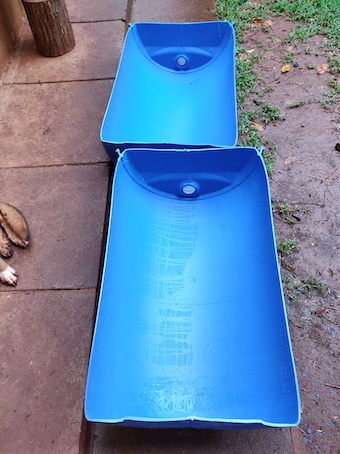
The quality of material used to make a vermiculture/worm composter tank is very important. It is best to use plastic as metal will corrode . A plastic 200 lt drum is ideal.
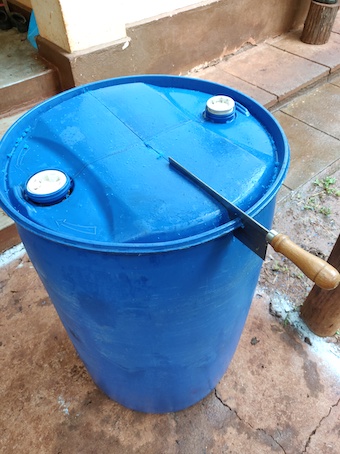
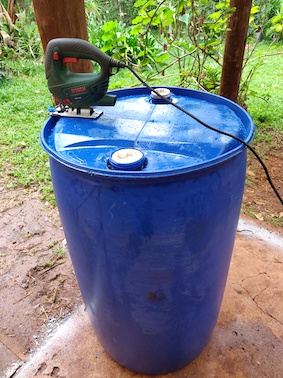
You will only need half a drum, so cut it in half using a saw or an electric saw.
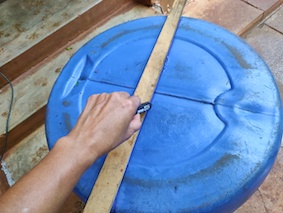
Carefully draw the guiding line across the bottom of the tank to make sure you put it as evenly as possible.

Try to choose a drum that has caps for the openings so that you can fasten these holes closed and one that has not been used to store toxic materials.

Clean the two halves of the drum thoroughly with detergent and then rinse with clean water. Try to remove all residues and any foreign smells.

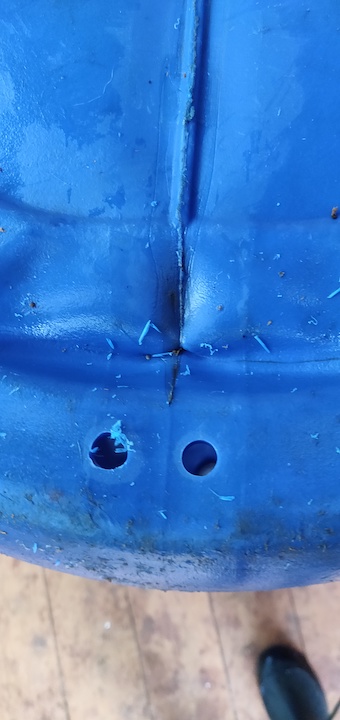
Drill two holes about one inch from the edge of the drum. These will be used to drain the worm juice fertiliser.
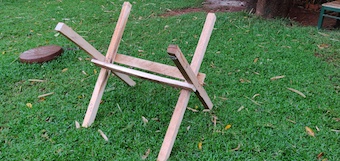
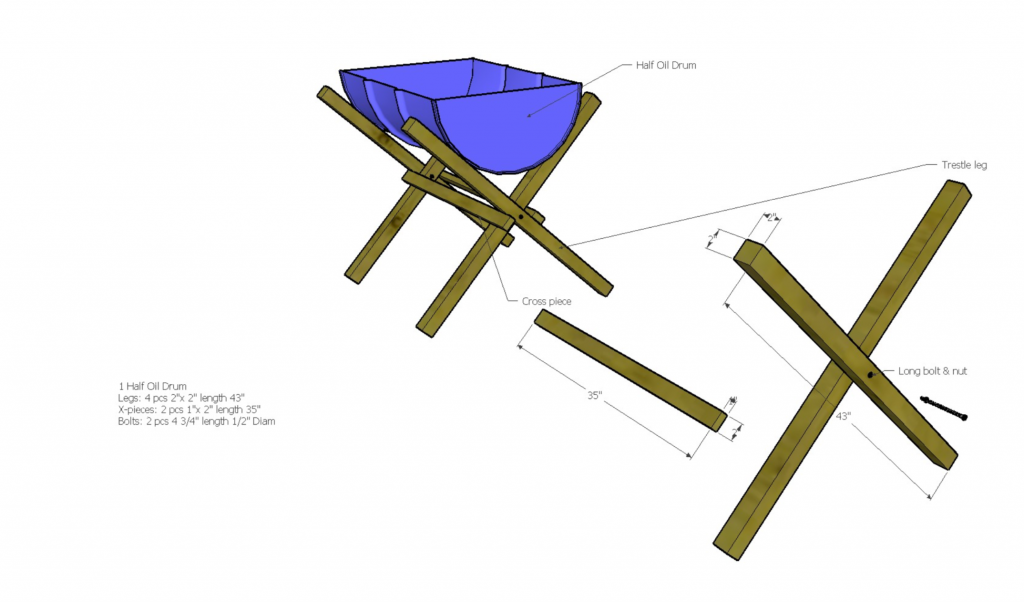
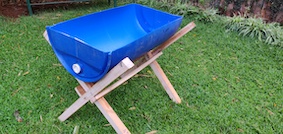
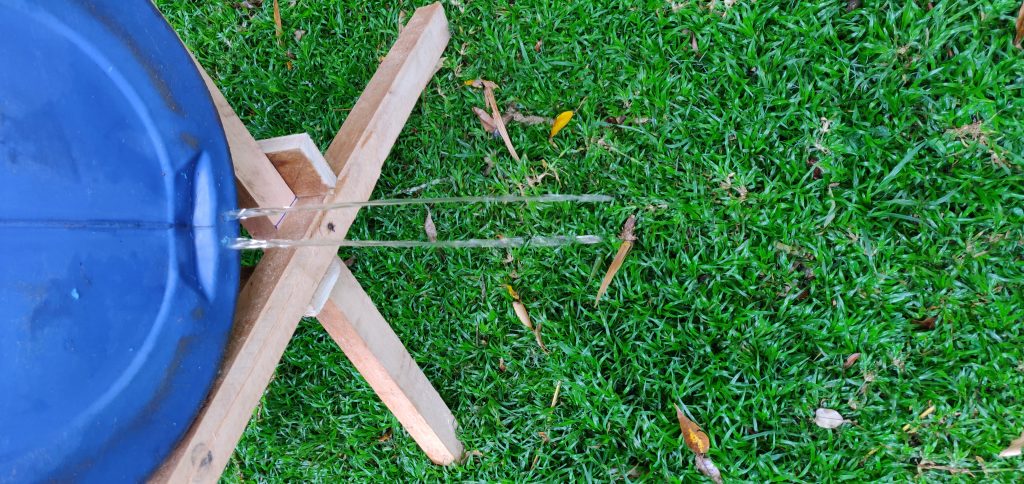
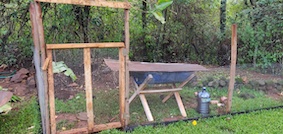
Make a wooden trestle/frame to hold the drum. The measurements for the X legs are 43 inches and the centre piece is 35 inches

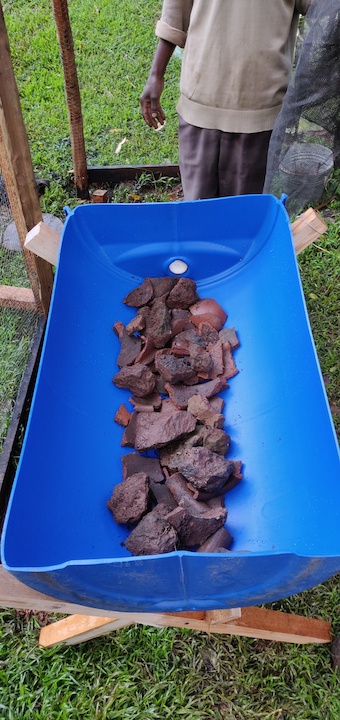
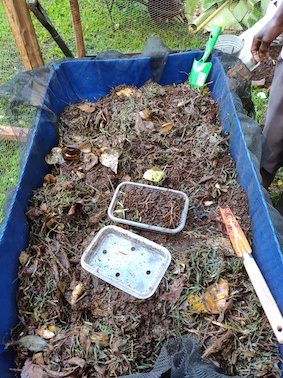
Add a layer of stones in the bottom of the tank and cover them with a piece of shade netting. This is important to ensure the materials and worms stay in the tank when you harvest the worm juice.
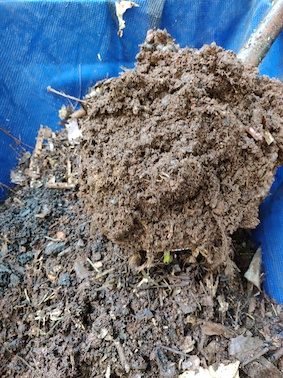

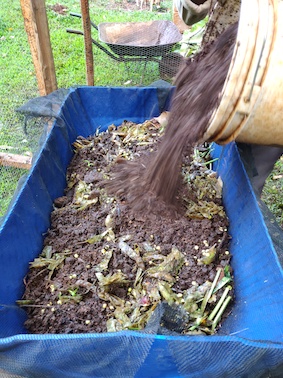
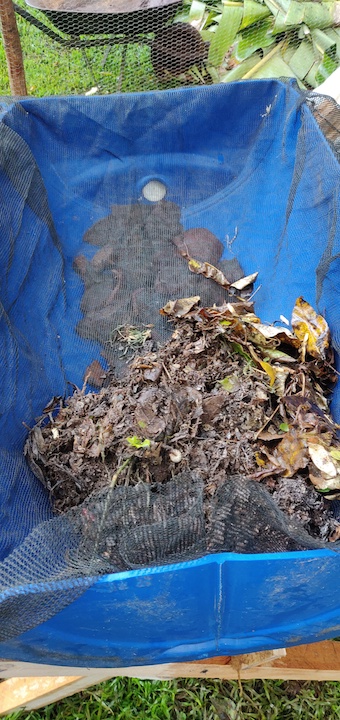
Add a layer of soil, manure, vegetable waste, leaves and grass cuttings to the drum. It must not get deeper than one foot.
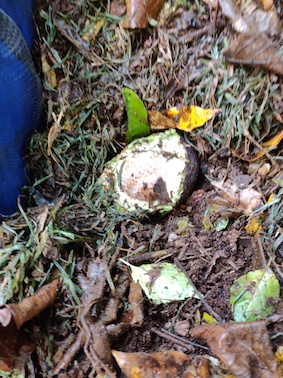
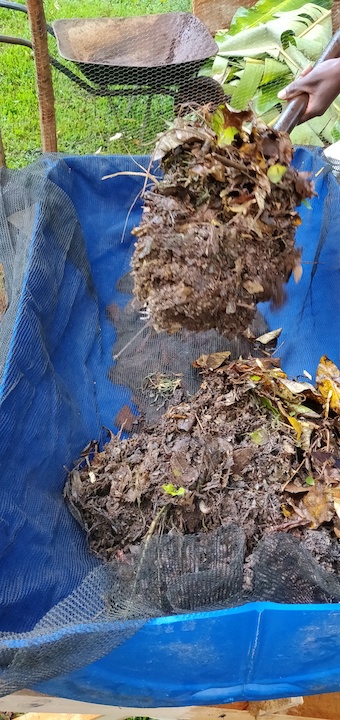
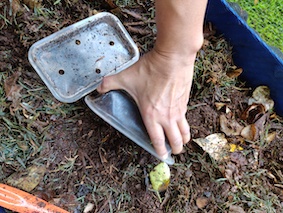
Add some pockets of food like old avocados and other kitchen waste
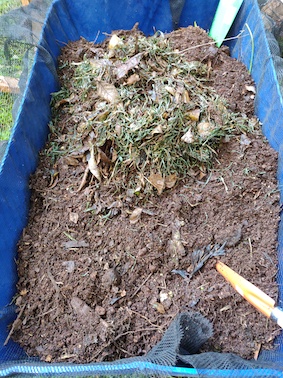
Cover the top of the tank and bedding with a layer of grass cuttingS. This will help to keep in the moisture

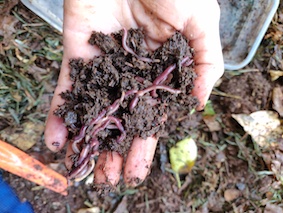
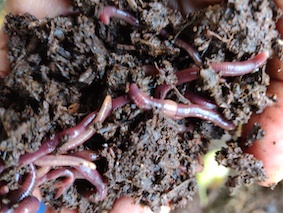
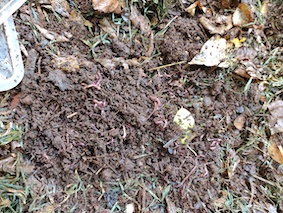
Add worms to the system, they will wriggle their way in and begin to feed.
Cover the system with a mabati sheet to prevent predators like birds, ants and dogs from damaging the system or eating the worms. Leave the system now like this for at least one month before harvesting your first worm juice. Make sure it stays moist by adding a little water every week and a also add a few handfuls of food every week increasing in amounts as the worms breed. You will notice tiny green eggs. These are a sign that your system is doing very well. Congratulations!!!
Go to “Vermiculture -Worm Farming “ to learn how to maintain your vermicuture system and harvest the worm juice